
This guide walks you through setting up Claude Code from scratch, explaining every step along the way. No previous experience with terminals or programming tools is needed.
If you're a developer and just want the quick version, head to the developer setup guide instead.
What is a terminal?
A terminal (also called a command line) is a text-based way to interact with your computer. Instead of clicking buttons and icons, you type commands and press Enter. It looks like a plain text window — no graphics, just words.
How to open Terminal on Mac:
- Press Cmd + Space to open Spotlight Search, type Terminal, and press Enter
- Or go to Applications → Utilities → Terminal
You'll see a window with a blinking cursor. That's where you type commands. Each command does one thing — install a program, check a version number, navigate to a folder, and so on.
Don't worry about memorising commands. This guide gives you every command to type, and you can always come back to reference them.
Installing Node.js
Claude Code is built on top of a technology called Node.js. You don't need to understand what Node.js does — just think of it as a behind-the-scenes engine that makes Claude Code work. You install it once and then forget about it.
Here's how to install it:
- Go to nodejs.org
- You'll see a big green button labelled with a version number and the word LTS (Long Term Support) — click that button to download the installer
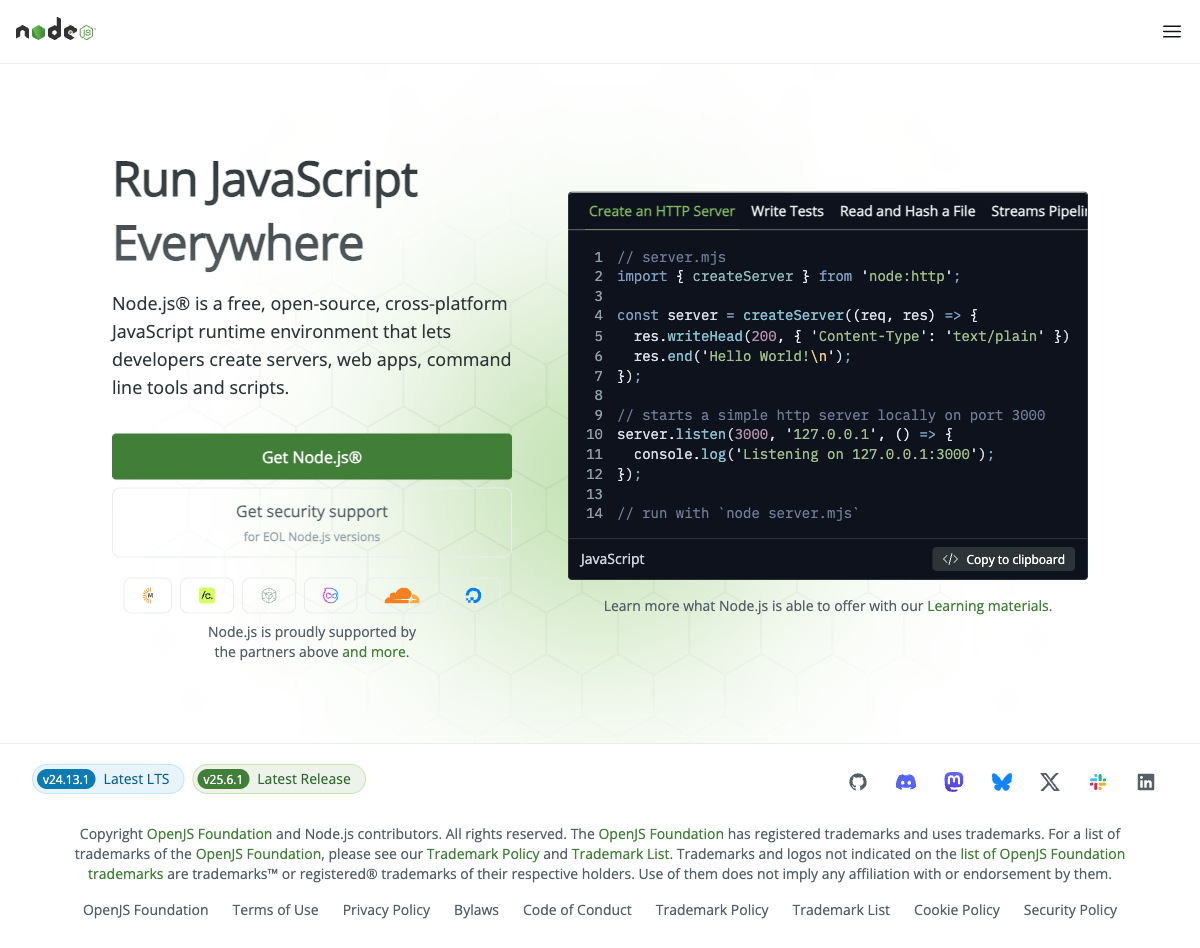
- Open the downloaded file and follow the installer prompts — click "Continue" and "Agree" through each step, using all the default options
- Once it finishes, verify it worked by opening Terminal and typing:
node --versionYou should see a version number like v22.x.x. If you see "command not found", try closing and reopening Terminal, then run the command again.
What just happened? Installing Node.js also installed something called npm (Node Package Manager). npm is a tool that lets you install other software — including Claude Code. You'll use it in the next step.
Installing Claude Code
Now that Node.js is installed, you can install Claude Code. Type this command in your terminal and press Enter:
npm install -g @anthropic-ai/claude-codeHere's what that command means in plain English:
npm— use the package manager that came with Node.jsinstall— install something-g— install it "globally" (available everywhere on your computer, not just one folder)@anthropic-ai/claude-code— the name of the package to install (Claude Code, made by Anthropic)
This may take a minute. When it finishes, verify it worked:
claude --versionYou should see a version number. If you see "command not found", close and reopen your terminal, then try again.
Creating an Anthropic Account
Before you can use Claude Code, you need an account with Anthropic (the company that makes Claude).
- Go to console.anthropic.com
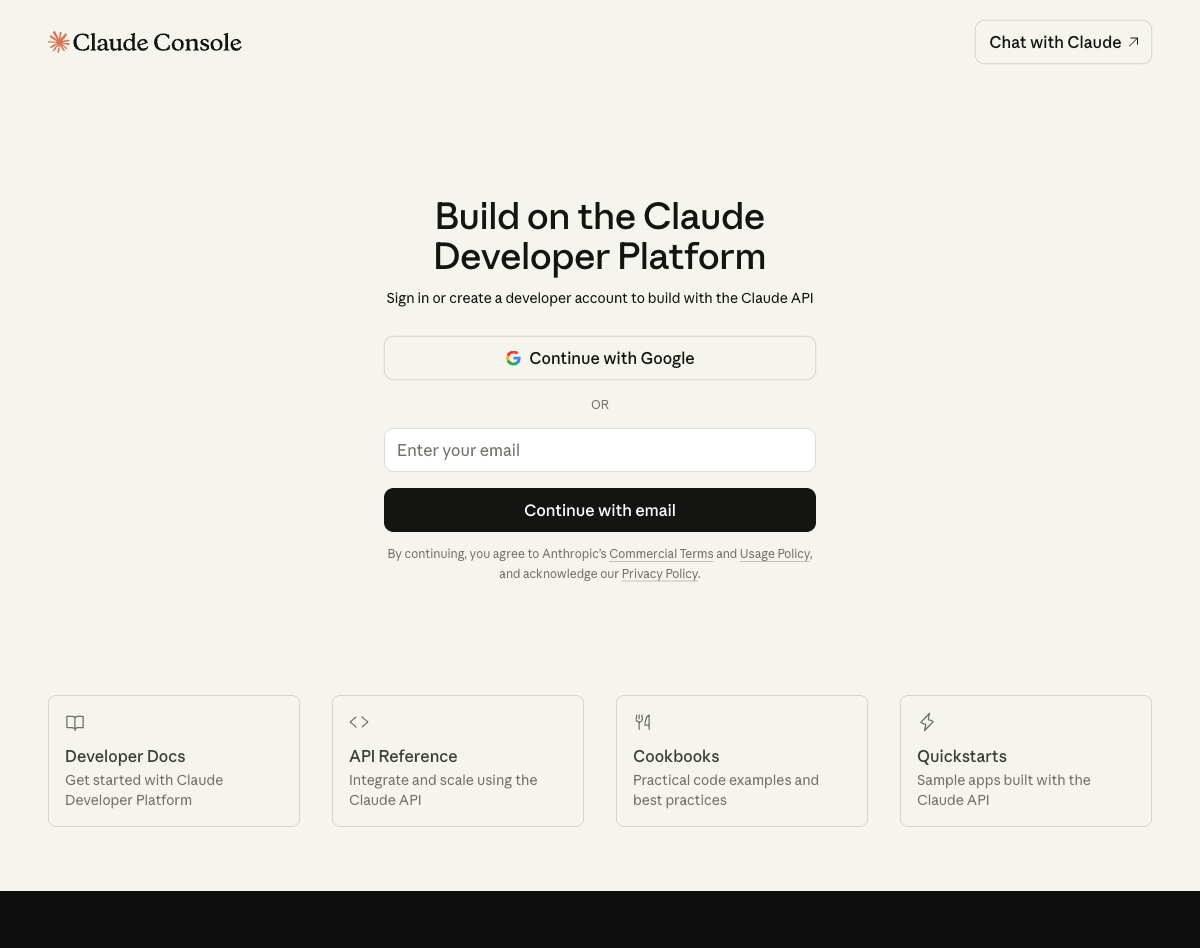
- Click Sign up and create an account using your email (or sign in with Google)
- Once you're in the console, you may want to create an API key — but hold off on that for now. Read the Authentication section below first to understand which option is right for you.
Authentication
When you first run Claude Code, it will ask you how you want to log in. There are two options, and they have different billing implications.
Option 1: Claude subscription (recommended for teams)
If your company has a Claude Team or Enterprise plan, or you have a personal Max or Pro subscription:
- Run
claudein your terminal - Select "Claude.ai account" when prompted
- A browser window will open — log in with your Claude account
With this option, usage counts against your subscription's limits. You won't be charged per message, but you may hit usage caps during busy periods.
Option 2: Anthropic API key (pay-per-use)
If you'd prefer uncapped usage and are comfortable paying based on how much you use it:
- Go to console.anthropic.com and navigate to API Keys
- Click Create Key, give it a name, and copy the key
- Run
claudein your terminal - Select "Anthropic API Key" when prompted
- Paste your key
With this option, every message you send costs a small amount of money (fractions of a cent for short messages, more for long ones). There's no monthly cap — you pay for what you use.
Which should you choose? If your team has a Claude subscription, start with that — it's simpler and there are no surprise charges. If you find yourself hitting usage limits regularly, talk to your team lead about switching to API key access. The /cost command inside Claude Code shows your spending for the current session.
Your First Run
Let's make sure everything is working. In your terminal:
- Navigate to any folder on your computer (your Desktop works fine):
cd ~/Desktop- Start Claude Code:
claude- Claude will start up and show you a text prompt. Type a simple question and press Enter:
What files are on my Desktop? List them briefly.
If Claude responds with a list of files, everything is working. If you see an authentication error, go back to the authentication step and double-check your setup.
Quick Orientation
Here's what to expect when using Claude Code:
- You type at the bottom of the terminal window and press Enter to send
- Claude responds with text, and may ask permission to do things like read files or run commands
- Permission prompts will appear — Claude won't modify anything on your computer without asking you first. You can approve or reject each request
- Shift+Tab cycles between permission modes (more on this in later modules)
A few handy commands to know right away — type these during a Claude session:
/help— shows all available commands/cost— shows how much the current session has cost (if using an API key)/clear— starts a fresh conversation/model— shows which AI model is being used
You're all set. If you got through the first run successfully, you have everything you need to continue with the course. The next modules will teach you how to actually work with Claude Code effectively.